Monday, July 21, 2014

I Use Antlers in All of My Decorating...

I had a Gaston moment. Okay. Let's be honest. All my moments are Gaston moments where wildlife decor is concerned...

 http://i.imgur.com/brcdHZi.gif

I've had this lust for antler jewelry for about a month now. I asked my dad for a tip to with which to work, but finally took matters into my own hands and purchased an antler tip marketed as a dog chew toy.

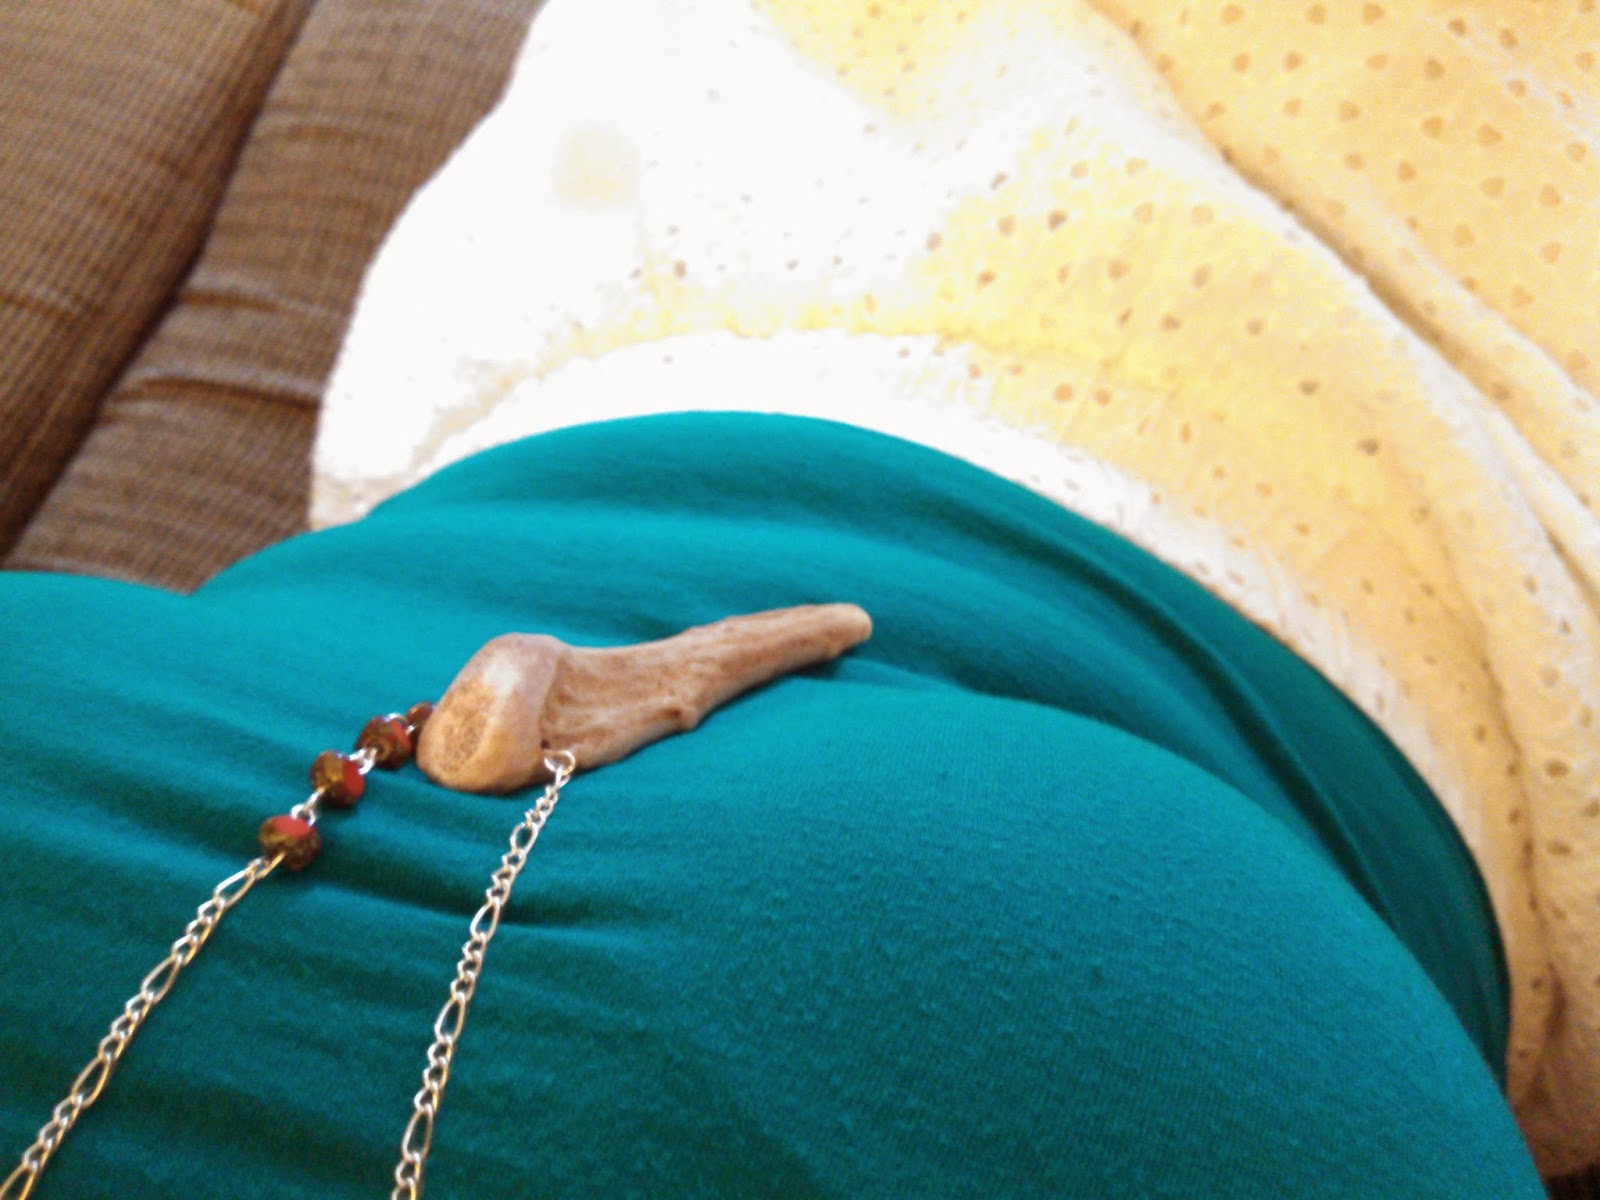
This necklace was pretty ridiculously simple to construct. I used 5 eye pins, a chain, 4 beads, and an antler tip.

Here's how it went down. I purchased my antler tip from the pet store, so I had to remove the maker's mark that had been stamped on it. The mark came right off with a little nail polish remover and elbow grease.

Then, I used a power drill to bore a hole through the thicker portion. I tried thinking of a MILLION ways to avoid drilling, but this was the easiest. In the end, I love the resulting look. And who doesn't like using power tools?

I threaded the antler with an eye pin, then trimmed the excess to form another eye on the opposite end. Before completely closing the second eye, I attached the prefabricated chain to it.


With that portion completed, I moved onto my bead work. I'll admit, I splurged on the beads and got a string of the good stuff. It's some sort of tumbled natural stone. I love the red and mottled gray/turquoise appearance.

I threaded each of the beads with eye pins, trimmed and created a second eye. Each time, I attached the next eye pin before closing the second eye. The result was a chain of beads. This could be accomplished with wire instead of pins. I was looking for fast results, so I went this route.


The last eye of the bead chain was attached to the prefabbed chain. The chain I used had a pattern of many small links with larger links sporadically interspersed. I saved one of the larger links to attach to the antler and the bead chain. This gives just a little bit more space so the beads can hang properly.


That's it! It took all of 30 minutes, and I can add on extra charms or feathers later if I find it too plain. I'm digging the simplicity for now.

Absolutely perfect! Here's the breakdown:
Antler tip: $5.78
Eye pins: $1.49
Beads: $6.79 (I used a coupon. Original price was $11.99)
Chain: $3.49
TOTAL: $17.55

If I had been more patient and less obsessed with these beads, I could have gotten away with this project for a little over $5.

Wednesday, July 16, 2014

Anniversary Wreath

Not everything was the same as it was when I returned from Guatemala. For instance, my husband rearranged our entire living room. Another example - the extreme humidity from the laundry room next door caused the command hook supporting my button wreath to detach. Consequently, the great button wreath is in pieces in my closet.

My front door was barren and empty. And all the Pinteresting in the world did not help me come up with an idea for a festive summer wreath. Let's be honest - there are only three major holidays in the summer: my birthday, my grandfather's birthday, and my dad's birthday. But recently, I also celebrated my anniversary. With that in mind, I decided to tackle one of my biggest unsolved dilemmas - what to do with over 100 embroidery hoops from our reception?!

This wreath was created with two embroidery hoops from our wedding, some of the lace that filled them, one of the little birds used to decorate the sanctuary, and a couple of button flowers. First, I filled the larger, 12" hoop.


Then I placed the smaller 10" hoop on the 12" hoop in order to estimate where I should cut.


I made a simple "X" pattern in the lace with a pair of scissors based on my estimation.

I added the inner portion of the embroidery hoop on top of the lace, while the outer portion remained below. This is opposite of how you would normally load one.


After trimming the inside portion, I had an orange lace embroidery hoop wreath!

One of my favorite crafts for the wedding was creating button-nieres for the men in the wedding party. I had quite a few buttons left over from my button bouquet stash, so I used them to create a complementary boutonniere. Below, I tried to demonstrate the size of wire and button pairings. The wire is simply run through the button holes and twisted tightly behind them. After that, you can add wire leaves, beaded accessories, etc. I recommend making sure that you wrap all your additions to your "flower" in the same direction as the "stem" is twisted.


I attached my the bird (from Hobby Lobby, similar to these) and the flowers with a little bit of wire. The masterpiece is now hanging from an over-the-door wreath hook. No more accidents.


Sweet, simple, and bright for summer. Not to mention the romantic nostalgia...


I had all of these supplies on hand, so I can't give the cost break-down. I imagine that this could be accomplished easily for under $10 if you have none of the supplies on hand.

Saturday, July 5, 2014

Porcupine Quill Necklace

Finally back from Guatemala and crafting again!

This little project I've been planning for a long time, but never made the final steps to buy supplies and make it a reality.

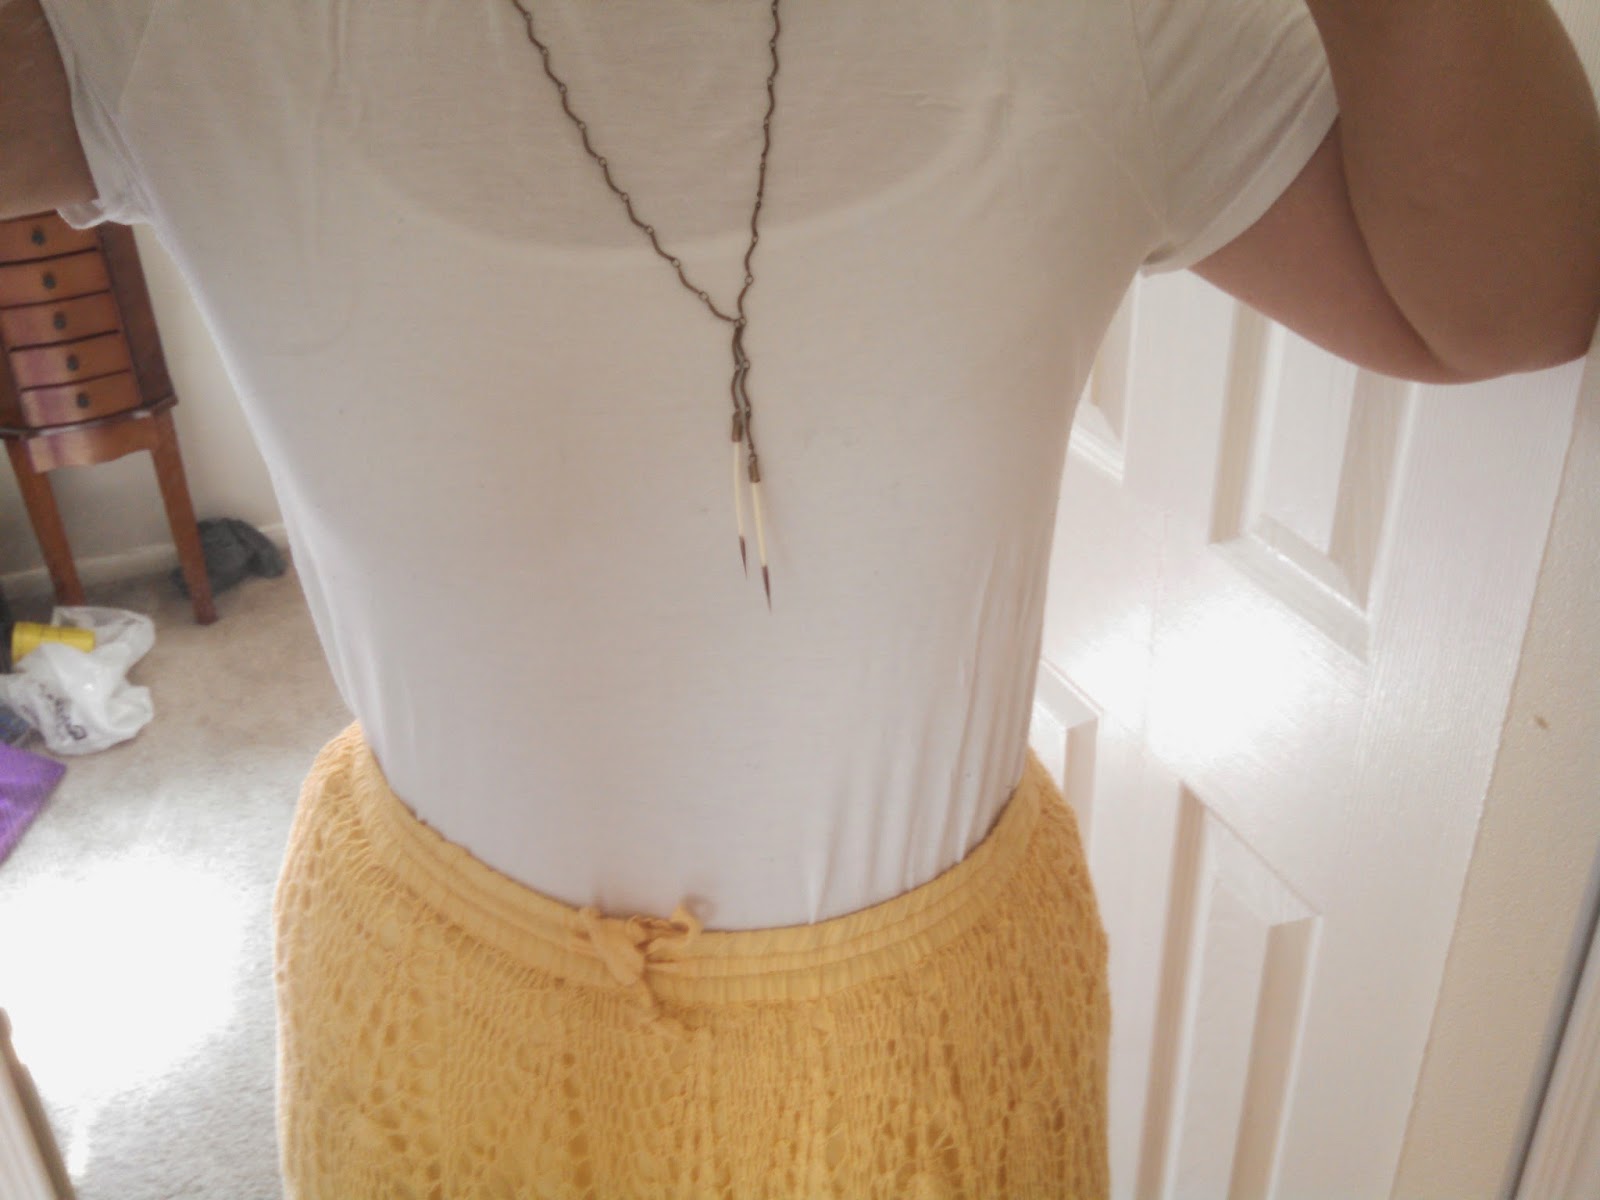
It's no secret that I love animals (duh) and I love wearing jewelry with animal flair. I have had a small collection of naturally-shed porcupine quills from a North American porcupine, Peggy Sue, for years. After clearing the project with the zoo director a couple years ago, this idea took a back seat to things like my wedding, vet school, and other small crafts. But the day has come! Here's my porcupine quill necklace:

The inspiration came from a simple necklace by K/LLER that paired a natural quill with a metal quill on a long chain. Easy enough to complete, but I put it off because I couldn't find the right metal quill for sale. Additionally, I couldn't find any tutorials on working with quills on Pinterest or by Googling.

First, let me give a small homage to Peggy Sue, the best porcupine this side of the Mississippi. She was a wonderful animal ambassador for the zoo, and when she finally passed, both zoo staff and the community mourned her. She was a favorite. Shortly before Peggy Sue left us, I collected some quills from her enclosure.

A few observations about porcupine quills:
1. Porcupines are a bit greasy, and the side of the quill that attaches to the body is often a bit rough and will need to be cleaned.
2. The opposite end has a barb that lessens the force required to penetrate skin while simultaneously making it very difficult to remove. You can read more about this feature here.
3. The quills are hollow.

I cleaned the quills and removed the barbs first. I used scissors to cut about 1/16 of an inch below the barb to ensure that I had cut off the small tapering that occurs just before the barb as well.

As far as other materials, I went to Von's and found a great chain and what I believe were labelled "tube closures." I chose a chain with a bit more detail than my inspiration piece by K/LLER.

I liked the uneven tails that were formed by crossing the chain, so I mimicked that detail by using the links of the chain itself to create the cross.

Then, I placed my trimmed quills in the tube closures and crimped them shut. I chose not to use new jump rings and instead used the small links from the chain. The jump rings I had on hand were so large that they ruined the delicate, streamlined effect of the chain and quills.

Voila! I regret putting this project off for so long. It was really easy and I love the result. Even though I couldn't find a metal quill, I really like the contrast of metal and natural porcupine. If I change my mind, I have some gold spray paint I could try to mimic the metallic quill of the K/LLER design.

The final cost/savings analysis:
- K/LLER original: $125
- Peggy Sue quills: free, but you can easily find cheap porcupine quills for sale
- Chain: $7.75
- Tube closures: $0.30
- Labor time: 30 minutes

Total: $8.05
TOTAL SAVINGS: $116.95