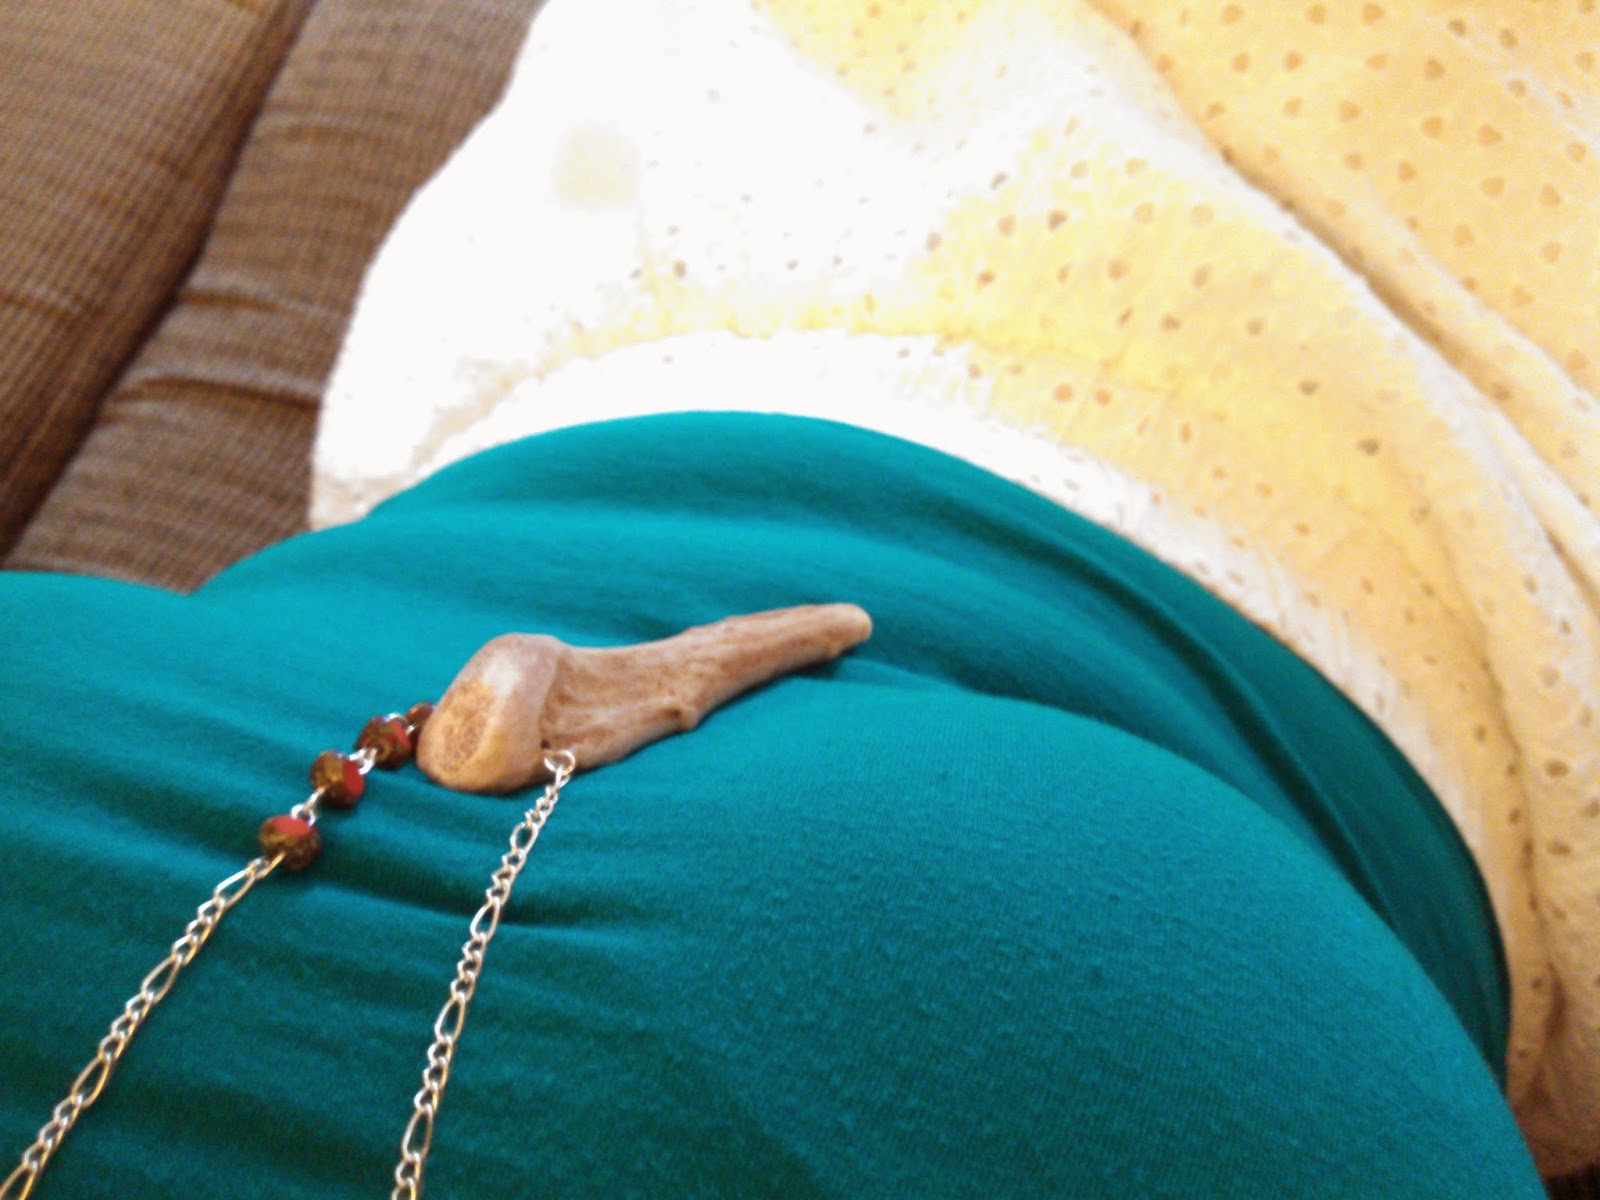
I had a Gaston moment. Okay. Let's be honest. All my moments are Gaston moments where wildlife decor is concerned...

I've had this lust for antler jewelry for about a month now. I asked my dad for a tip to with which to work, but finally took matters into my own hands and purchased an antler tip marketed as a dog chew toy.
This necklace was pretty ridiculously simple to construct. I used 5 eye pins, a chain, 4 beads, and an antler tip.
Here's how it went down. I purchased my antler tip from the pet store, so I had to remove the maker's mark that had been stamped on it. The mark came right off with a little nail polish remover and elbow grease.
Then, I used a power drill to bore a hole through the thicker portion. I tried thinking of a MILLION ways to avoid drilling, but this was the easiest. In the end, I love the resulting look. And who doesn't like using power tools?
I threaded the antler with an eye pin, then trimmed the excess to form another eye on the opposite end. Before completely closing the second eye, I attached the prefabricated chain to it.
With that portion completed, I moved onto my bead work. I'll admit, I splurged on the beads and got a string of the good stuff. It's some sort of tumbled natural stone. I love the red and mottled gray/turquoise appearance.
I threaded each of the beads with eye pins, trimmed and created a second eye. Each time, I attached the next eye pin before closing the second eye. The result was a chain of beads. This could be accomplished with wire instead of pins. I was looking for fast results, so I went this route.
The last eye of the bead chain was attached to the prefabbed chain. The chain I used had a pattern of many small links with larger links sporadically interspersed. I saved one of the larger links to attach to the antler and the bead chain. This gives just a little bit more space so the beads can hang properly.
That's it! It took all of 30 minutes, and I can add on extra charms or feathers later if I find it too plain. I'm digging the simplicity for now.
Absolutely perfect! Here's the breakdown:
Antler tip: $5.78
Eye pins: $1.49
Beads: $6.79 (I used a coupon. Original price was $11.99)
Chain: $3.49
TOTAL: $17.55
If I had been more patient and less obsessed with these beads, I could have gotten away with this project for a little over $5.